Originally posted by vb2oc0371
View Post
If this is correct, I would want the best connection I can have.
Others, please ring in and give opinions/facts.
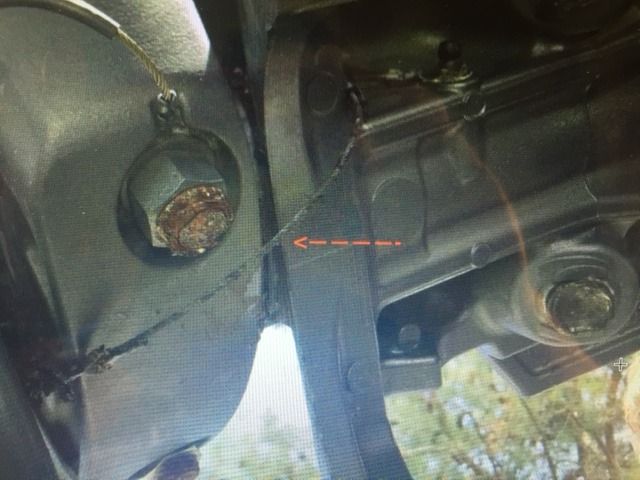
Now, I looked a little further into what might be involved. From the top connection, it looks like it is just connected via the grease fitting. The middle connection is at the lower engine mount bolt/nut. The lowest connection is at the bottom of your upper casing.
To replace the wire, it looks like you have to remove the grease fitting for the top connection, remove lower mount starboard cover, remove the nut from the starboard lower engine mount (now this may be very difficult because of corrosion that may be present on the bolt head). The lower unit has to be removed to access the bolt that connects the lowest connection (this, I'm not sure of).
Of course, if the wire/and connections are in good conductive condition, you may not have to change the wire. You may be able to splice (Silver soldered, quality crimp, or otherwise) a new section of same make up wire to replace a bad section . The only reason I think the wire is sleeved in plastic is to prevent the wire from damaging your paint finish.
If not doing this now, I would definitely do so next time you remove lower unit for service (water pump or otherwise).
Not sure "nylock nuts" are good on battery terminals, may wish to double nut instead.
What about the fuse connection to the negative battery terminal (unusual, to say the least)? Did you ever figure out what it feeds?
2006 and Later F150XA_011 Yamaha Outboard BRACKET 1 Diagram and Parts


Comment